Jamie & Marty with the One Show sand castle.
We popped down to Portobello beach with the One Show whilst in Edinburgh making a sand sculpture for the Zoo. Marty Jopnson from the science department wanted to know why it was that sculptures that we build with building sand stay up for weeks and the ones that people build on the beach fall down.
I explained that building sand is from crushed rock or glacial deposits and so the grains are angular and interlock when they are put together. There is also plenty of clay and silt that helps it set. Beach sand on the other hand are grains of sand rolled by the sea for centuries and they are very round, and all the clay and silt has been washed out. With a beach sculpture these round grains are only held together by the water, and once the water has drained the grains simply roll off of each other and the sculpture blows away or falls down.

Jamie explaining sand castle building to Marty
“But Marty you can still make a great sculpture on the beach if you are only there for a day.” And here is how:
Tools
For your sand castle you will need a shovel to make your pile, buckets to carry water and make mud with, a float for big shapes, a ruler for cutting and a lollypop stick for small details. You can also do with a bucket with the bottom cut off that makes a cylinder and some pipe to make a tower.

You can use a shovel, buckets & cylinders and other tools to make your sand castle.
High tide Mark
Select a spot below the high tide mark as the sand will already be wet. Wet sand is happy sand. You can often see the high tide mark because the sand is wet and there may even be some seaweed.

Wet sand is happy sand. Make your sand castle below the tide mark
The pile
Shovel a pile of sand. The place that you shovel from may fill full of water when you hit the water table. Consider collecting your water from here rather than the sea that could be some distance away.

Make a pile of sand using a shovel for yoursand castle
The Volcano

This is what a sand castle volcano looks like
If you just throw the water on the pile it will just go down the side. So you flatten the top and make a rim so that it looks like a volcano. Then pour at least a bucket of water in the top and whilst doing so vibrate the sand with your hands, Marty and I liked to think we were playing the piano. This is key in beach sculpture. Whilst the sand is in solution and being vibrated, the grains are able to move together into best possible fit. When the water is gone the sand is so hard that you will be able to stand on your pile. You now have a firm foundation for your sand castle.

Jamie filling the sand castle with water.
The body of your castle & towers
A great way of making vertical structures is using a cylinder. For the body of your sand castle this can be a bucket with the bottom cut out, and for a tower a tube. Put your bucket on the pile and press it firmly into the top of the volcano. Then throw in a little sand and then plenty of water and vibrate away with your hands. The key thing here is that the water must always be above the sand until the very last moment so that the grains are always in solution and able to move around to best fit.

Filling the buckets with sand to make vertical structures
Do exactly the same for the cylinder which will make your towers. When removing the cylinder or bucket make sure all the water has gone from the top, you can help here by adding some dry sand. Then one person tap it vigorously with a tool and the other slide it off; with the bucket you may need a little help! You will now have a perfect tower. Marty picked this up straight away and made his own soon after.

Sand cylinders are great for making towers. Be careful when you lift them off though!
Sculpting your castle
When making any sand sculpture you must sculpt from the top down so that debris from above doesn’t get on finished work below. This can cause a fall out if you don’t!

Make sure you carve from the top down on your sand castle
To make the main shapes use your ruler to cut with. You can even bend it for round shapes and you will surprise yourself at the detail you can get from it. You can make great lines with your ruler. If you are working on something delicate like a tall tower be careful to support it with your other hand.

Using a ruler to carve your sand castle is a great tool!
To make windows try using the lollypop to cut them out. You can then even pinch some sand in between your fingers to make a ledge. The lollypop can also be used to make some nice bricks.

Finished your ice cream? Use your left over lollipop stick to carve the details.
To make stairs cut down with your ruler vertically, remove, cut across horizontally and then lift out the sand. You will have one stair, so now make some more

Making sand castle stairs is fun and very simple using your ruler again!
Castellation’s are the small turrets on walls of castles that people used to hide behind and are fantastic additions to a sand castles; tricky to make at first but easy once you get the hang of it. Get some wet sand out of your bucket (water is above the sand) and plop it onto your float, vibrate away with your other hand, you may then need to add some drier sand to make it go a little harder. Then with your ruler scrape off the top and cut off the sides so that it resembles a very large and impressive chocolate bar. Simply cut the bar into small cubes and lift them off the float and place them all along your walls. Sand castle makers call this importing, and you can make many different shapes and simply slide them on! Marty Jonson was particularly good at this and made all the castellation’s on the One Show Sand Castle.

Forming the sand block from your mud pie
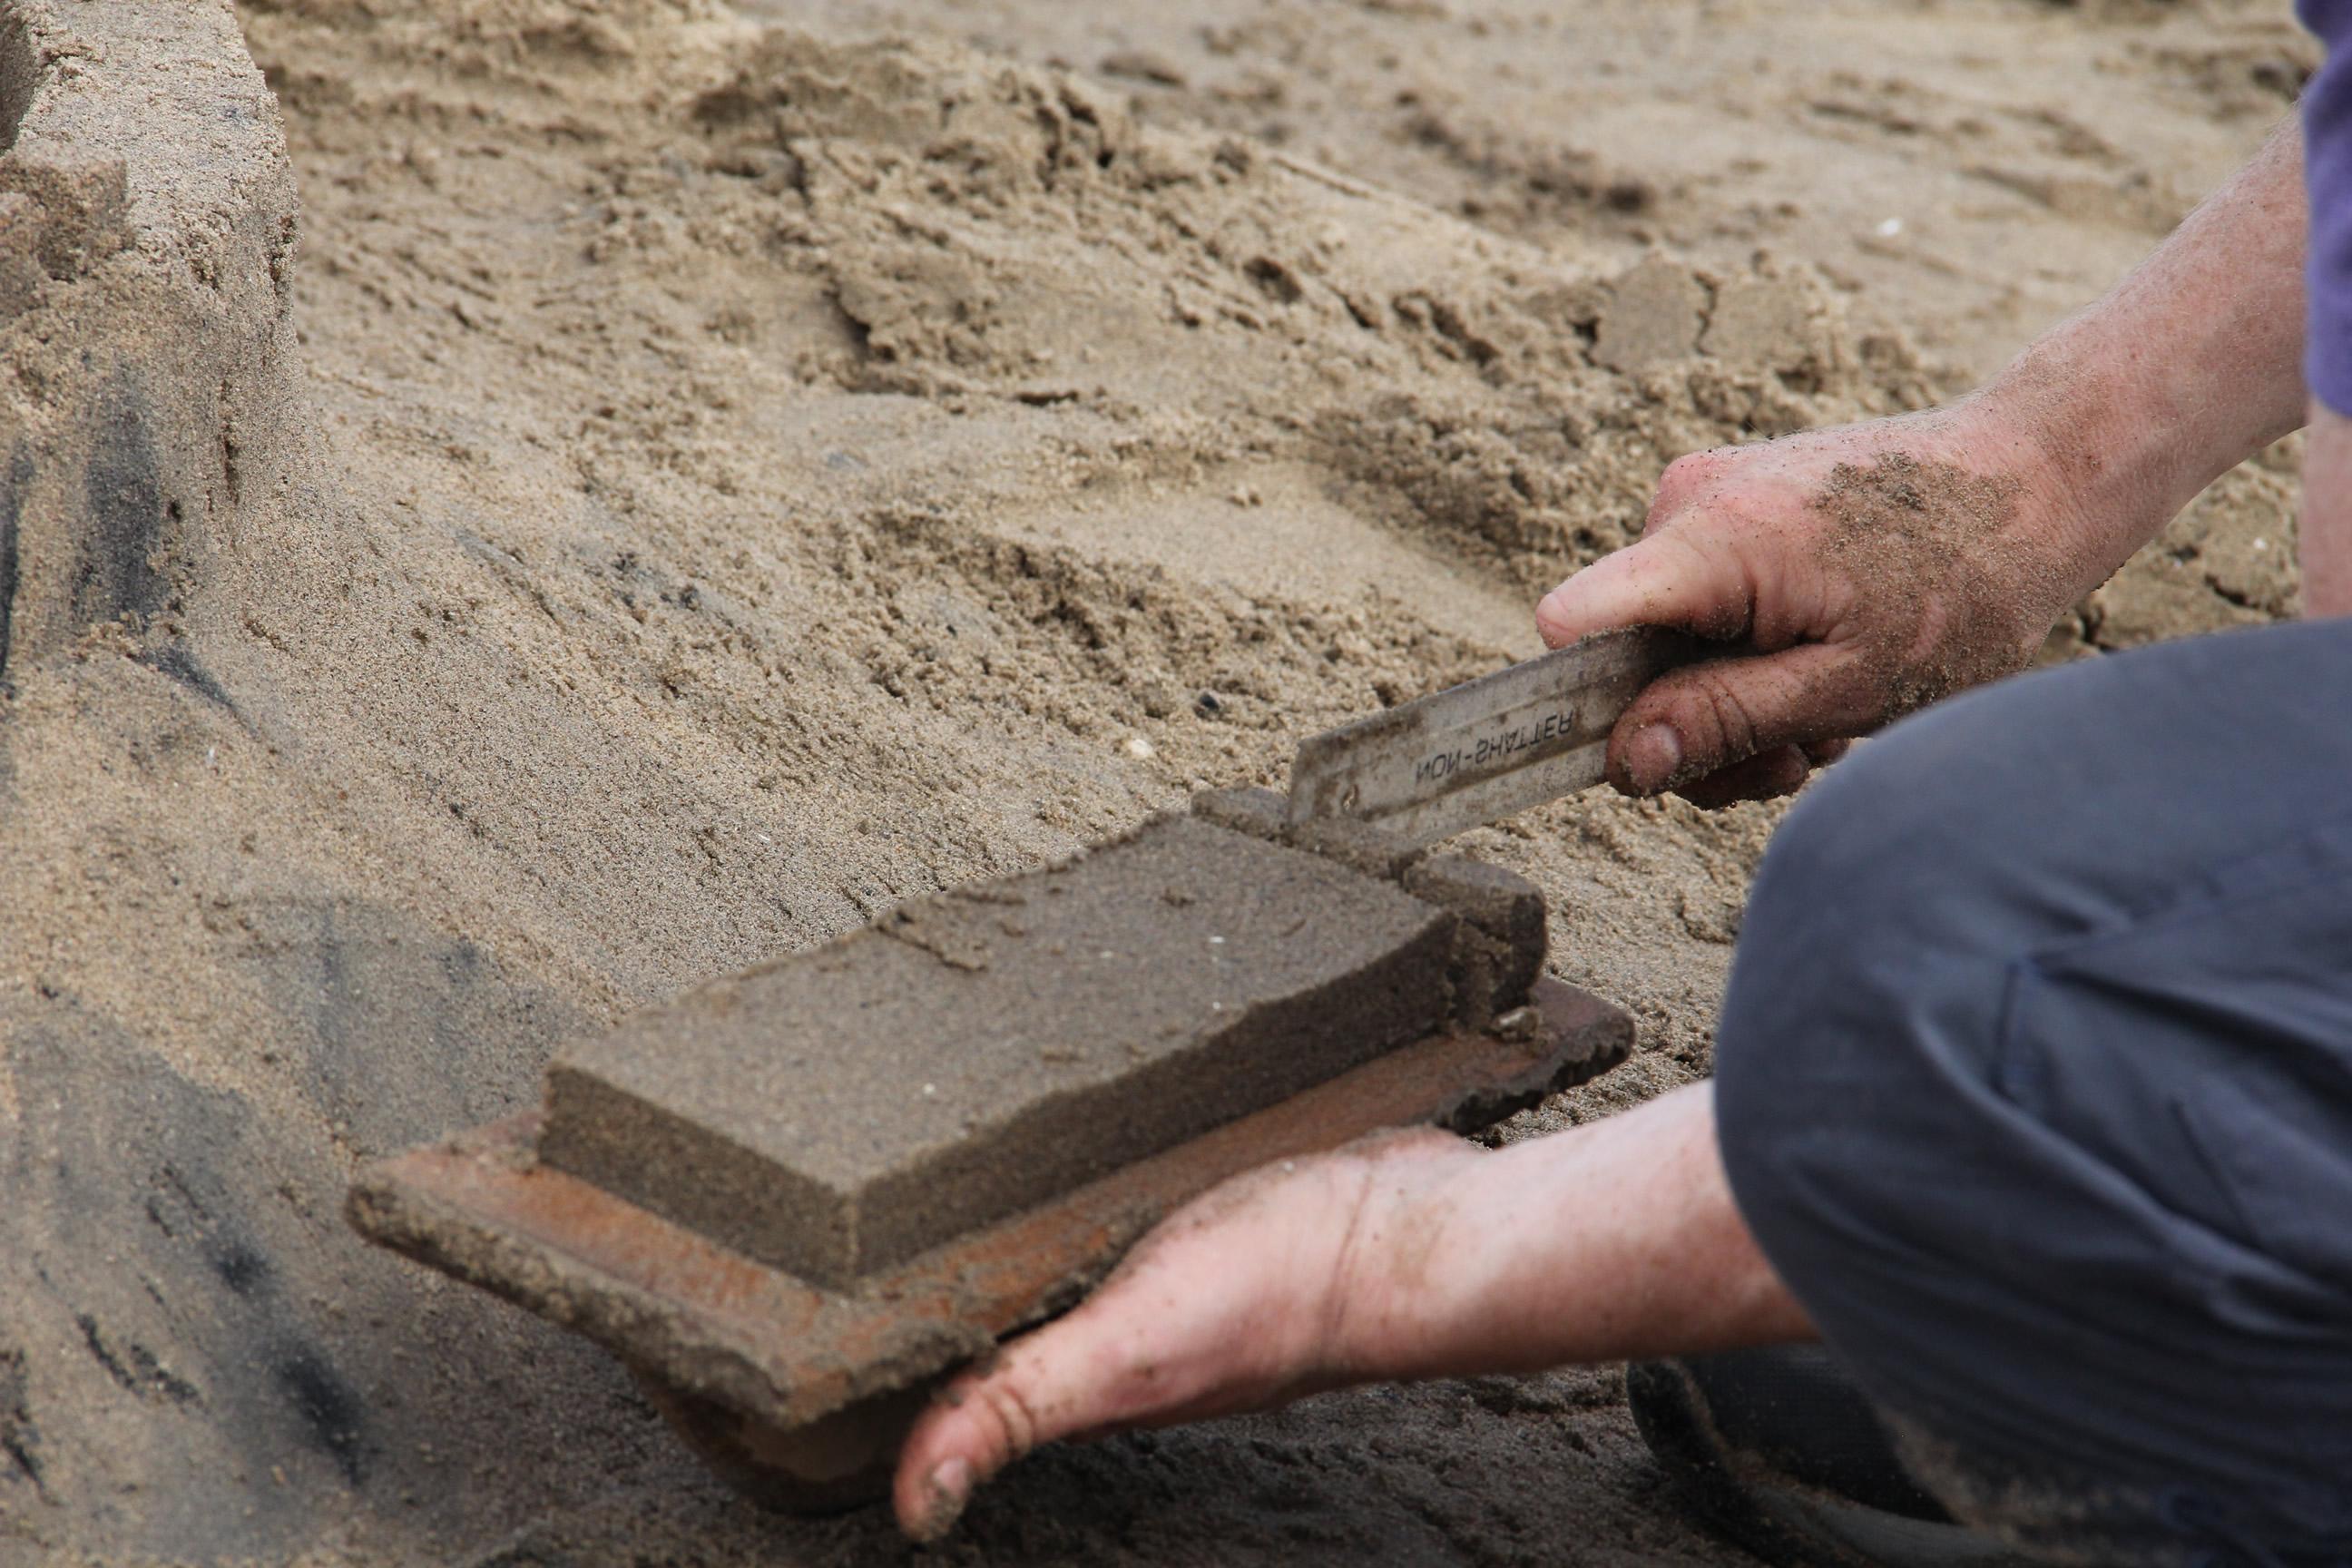
Here’s the ruler again! Use it to cut out the sand castellations.

Marty adding the cut out sand castellations.
Another way to make a tower is to make many mud pies on top of each other. You scoop as much sand as possible out of your bucket (water above the sand) and tap them until they have gone firm. Then keep adding more layers to get higher. If you do two side by side, you can then bridge the gap and even make an arch. This is very impressive and takes lots of skill.

The crew and the sand castle coming together.
Finally, if you have a rake, rake the bottom of the sculpture as a nice finishing touch, stand back and be proud. Marty Jopson you were a fantastic student and a great thanks for Emma and Andrew from the One Show for taking us out to the beach for the day.
Jamie
Jamie & Marty with the One Show sand castle.